Strawberry Shortcake Party!

Welcome to Berry Bitty City!

Strawberry, strawberry, strawberry shortcake!  The song is still in my head 3 weeks later!   LOL   This party turned out cute, but I wasn’t on top of things as I normally am (I have to start months early for the April birthdays since we have 2 of them and I ordered the stuff early, but didn’t get to the crafting part early enough) … so it was a little stressful at the end.  But it all worked out and my daughter had a great time!  We had about 16 kids or so this time.  The kids arrived and started on a coloring sheet/maze activity, then we played some games, had some cake and she opened her presents. 
 
Strawberries are cut from the Hello Kitty cricut cartridge

 
My wonderful older daughters did all the coloring of the dots with some sharpie markers!  We just taped on the leaves and stem.  (warning… don’t let your kids play with these balloons when you take them down… the sharpie comes off everywhere… TRUST me!)

Strawberry confetti from birthday express, Table cloth from oriental trading.  The maize printout and coloring sheets are from the strawberry shortcake website.

My grandma crocheted these Strawberry shortcake dolls for me when I was a kid and I still had them.  They are amazing and worked great for centerpieces!


balloons from birthday express

This was a HUGE decoration that worked great for filling up a wall!  And only $6 at birthday express 

Images from google and bing image search.  Again… make sure you go to advanced search and search only for images with a high resolution to look better with printing!

 
This piñata was an idea I found on Pinterest from Grey Luster girl.  She is amazing at parties and had a lot of fun ideas!
I did make it into a pull string piñata because my girls prefer them.  (my string broke this time though… which was a bummer).  For instructions on making a pull string piñata see HERE

 
Strawberry Shortcake pin the strawberry on the vine game from Shindigz

Birthday girl!!

 
I made a bunch of these out of felt and we used them to play a musical chairs game.  Most of the kids have never played that before and were not happy about me taking them away.  LOL.  But it was fun to watch them figure it out.
 
We had strawberry shortcake music in the background!  You know… the ones that are still in my head!  (there are a lot of different strawberry shortcake albums available… we liked the Strawberry Jams and Let’s Dance the best.)


For the food, we had strawberry applesause, Strawberries, dried strawberries, Chocolate wafers, Pretzel thins, homemade suckers, cupcakes, and beverages.  Most things are from Trader Joes. 

I love making candy!  It is a pretty fast process if you have all the right tools.  I bought this hard candy mold from sugarcraft.  I also recommend getting the large candy funnel… Works great!  THIS was a helpful blog when I first started to make candy (without my mom, that is)!
chocolate cupcakes

I made a simple buttercream frosting with powdered sugar and butter (but I only used about 1/2-2/3 as much sugar as the recipe called for) and I added strawberry flavoring to it.  Oh man.. it was so yummy!

Remember these?  I don’t think I ever did say how I made them… They are from the flower shoppe cricut cartridge… probably my most used cartridge!  So many things you can use flowers for!  Anyway, you use a fancy pearl pin to pin them to the Styrofoam ball topiary.  (Be sure to store them out of the sun when you aren’t using them because the colors can fade)
 

Enjoying some goodies!
Ok… there were so many fun favors to do this time… I may have gotten a little carried away.  It was still under $5 per kid though which is my max.  🙂 
So, I bought THIS cricut cartridge just for this party and it made the 3D strawberries in the basket and the basket.  So fun!  Inside the 3D strawberries are strawberry daiquiri jelly bellies.  And also in the basket there is a packet of strawberry flavored Annies fruit snacks and strawberry Kelloggs pastry crisps.

These mini hand sanitizers are from bath and body works and I tried to find the fruity scents and just make my own label for them in Photoshop, printed on sticky paper and stuck them on!  🙂

Also there are coloring books and bubble wands ($1 each at Michaels).


Dr Seuss baby shower

Oh, The Places You’ll Go!  Well, that happens to be my friend’s favorite children’s book, so it was easy to come up with a plan for what theme to do her baby shower.  Mary and I went to work with the planning.  I was so thankful that Mary decided to take care of all the food and I did the decorations and games because I am not a huge fan of the food part and that’s the part that always feels more stressful to me (due to its more last minute nature).  Man, this was a fun shower to plan, with pretty much free rein of all those bright colors and the whimsical style of Dr. Seuss stuff, and all the ideas I found online.  (I couldn’t do any pinterest pinning this time though, because I wanted the guest of honor to be surprised!, so I had to do thing the “old fashion” way… Bing and Google!)  There was a lot of good ideas out there, so thank you everyone!  It probably was one of my favorite showers to help create!

Here are the pictures!

These were inspired from the book Oh, the Places You’ll Go and I had some extra large cardboard in the garage, so I just cut out the shapes and spray painted them and duct taped them together in the back and a little to the house to keep them from falling down.
Tried to imitate the balloons from the book also.  Colored the striped (after they were blown up)  with permanent markers
The trees also inspired from the book.  I made these by using 5 sheets of tissue paper, accordian folded them and wired them around the center (just like the regular tissue paper puffs), cut both outer edge into a point, Then I used a heavier wire from Home Depot cut it twice the length needed, took a balloon clip weight, put the wire through the hole to the middle of the wire and folded the wire in half.  Then, with the ends of the wire toward the prepared tissue, I wrapped the thin wire around the tissue paper around the heavy wire to attach.  Next, I took black duct tape and wrapped it around the heavy wire to hide it all the way down to the balloon clip.  I did also have to wrap the taped wire around the balloon clip a little bit to make it strong enough to hold the flower up and then clipped it to the buckets (or anything you want).  Last, I fluffed out the tissue paper, mostly just one on side, so the top stays mostly flat to look like the Dr Seuss trees.  And voila!

I also loved the vases (idea I found online) wrapped with a blue boa and hot-glued the ends together.
Momma-to-be in all her glory!
Dr. Seuss phrases and characters for around the house!  (Printed and cut out)

Everyone had fun doing this and there sure were some funny ones!

One of the games (203 was the answer by the way).  Another game not shown was a crossword puzzle.  You can create your own here.  So, I did it fill-in-the-blank style based on the book, Oh The Places You’ll Go.
The 3rd game we played.  Some may recognize from a previous shower I did.  I had a lot of fun with Photoshop and took random baby faces and super-imposed them over celebrities and the guests needed to guess the celebrity.
I remembered I had this teapot my mom bought for my girls, so I just HAD to do the fish in the pot!

Food table
plates from Celebrate Express
Mary made this wonderful diaper silverware holder!

Party favors
Congrats sweetie!  Can’t wait to meet the little one!

Candyland Birthday Party

Welcome to Candyland!  This was a super fun party to create (but I think I do say that about most of the kid’s parties).  I decided to set up the house to look like a life-size candyland game board.
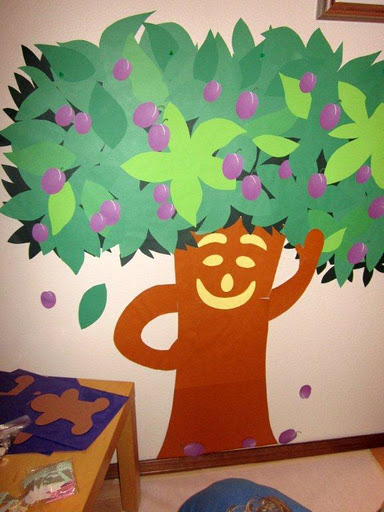
I did have a hard time getting started, so first I studied the candyland board games:  we have an older one and the new style one.  I actually used more from the older one, because I liked the variety of candy characters/places better.  The new board is a little too.. um.. busy… and the candies are a little more similar to each other.  Anyhoo… so I made of list of the “areas”:  Plum trees, rainbow trail, peppermint forest, gumdrop mountains, Licorice Castle (changed to Licorice Lagoon from the newer game), Peanut Brittle House, Lillipop Woods, Ice Cream Sea, Molassis Swamp (changed this to Chocolate Swamp), and last, but not least the Candy Castle.  I just started brainstorming ideas for each area and jotting those down.
I even made a playlist of candy related music to play, but then forgot to play it… boo.

Then I drew this rough map of my living rooms/kitchen… and how I wanted to set up the “game” (where all the sections would go).

I ordered supplies from my 3 favorite party websites:  Oriental Trading, Shindigz, and Birthday Express.  Also picked up some things from Ben Franklin, Bartells, The Dollar Tree, and Fred Meyer. 
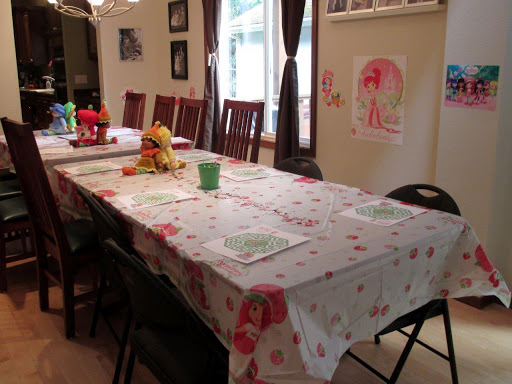
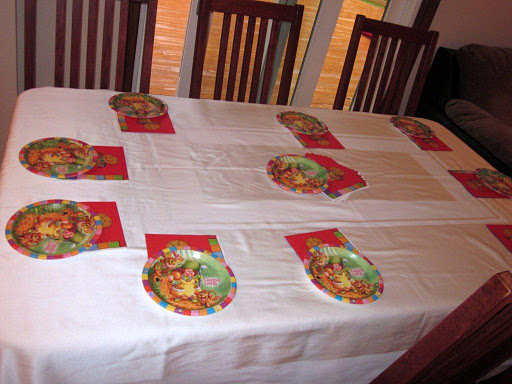
So, I always find it easiest to just talk about the party as we go along.  So, here’s what the guests arrived to:

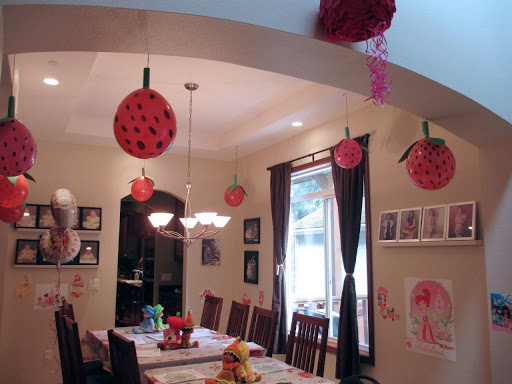
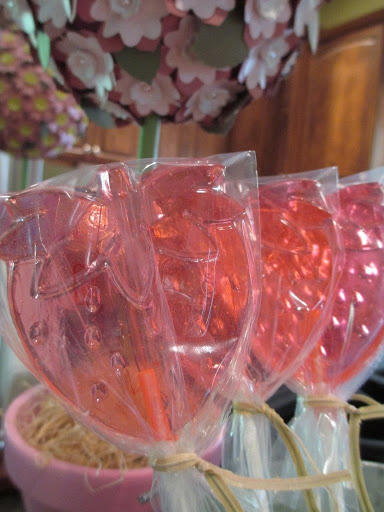
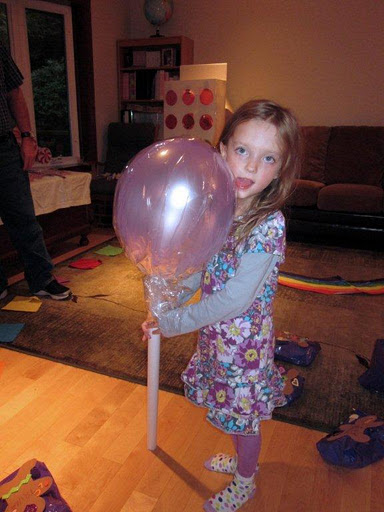
The giant lollipops are made from ballons taped to a baton I found at the dollar store and then wrapped in cellophane.  I stuck them in buckets filled with sand to keep them upright.
Aren’t these 2 great!  they’re from oriental trading!

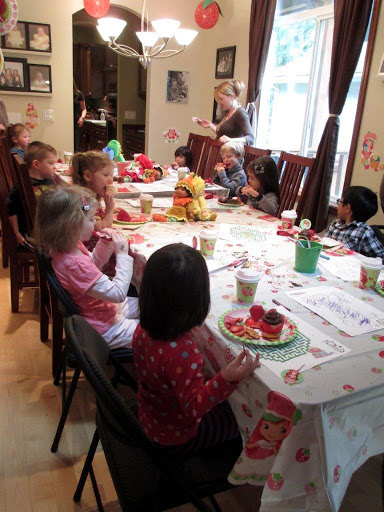
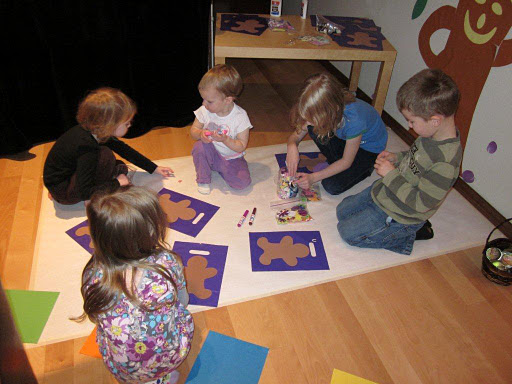
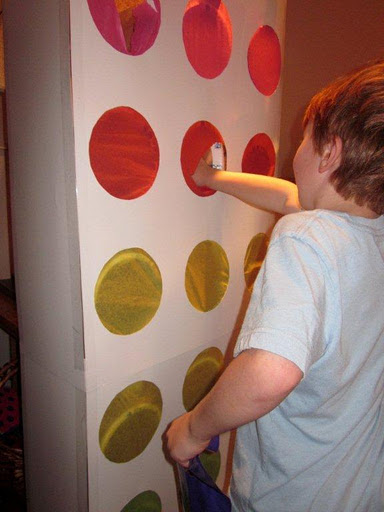
As we were waiting for everyone to arrive, we had the kids decorating their goodie bags.  Note: don’t use elmers glue when doing this… took too long to dry… next time I will only use the stickers/sticky backed jewels.  lesson learned.

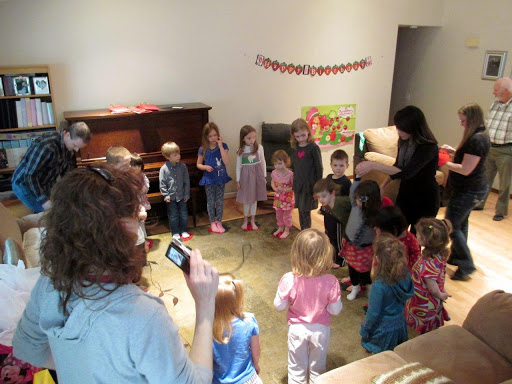
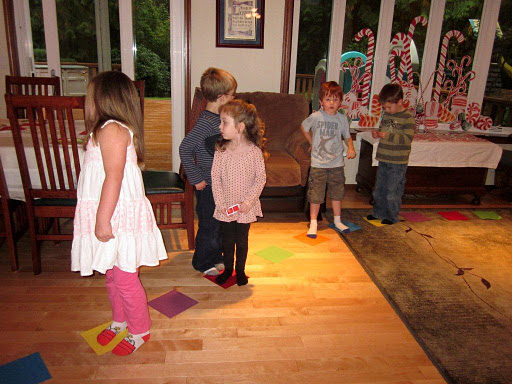
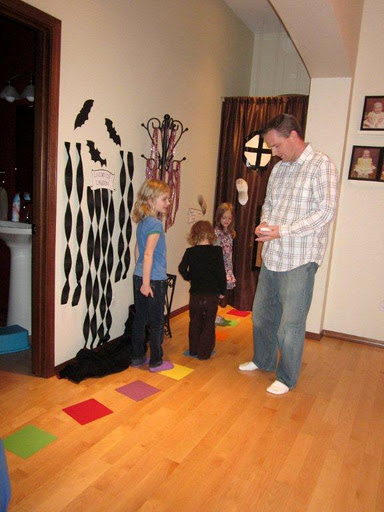
When everyone got there, we played the game.  I had taken out the colored cards from the board game and each kid drew a card and moved to that color square on the floor.  There are a ton of pictures, so I will just post a bunch!

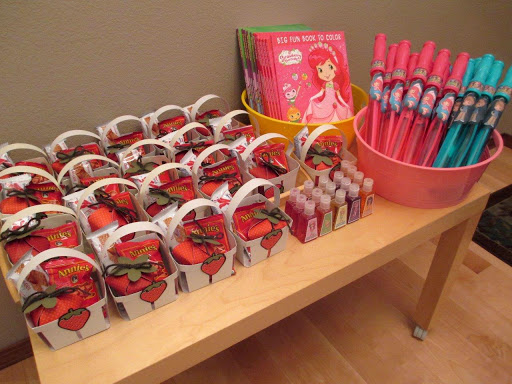
Some stations had a little goodie bag gift to put in their bags.  We actually went back around a second time to grab those.  🙂
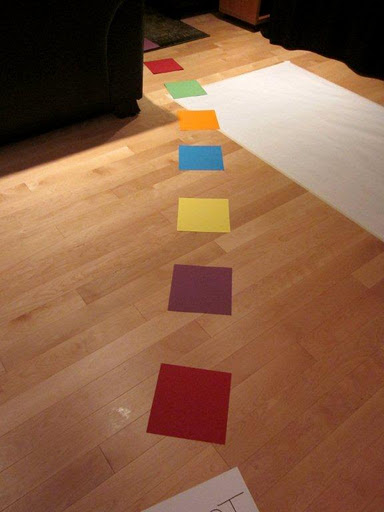
The rainbow trail led to the punchout game and the peppermint forest.

At the other end of the rainbow, I placed a “punch-out” game that I made.  See my previous blog post to see how we did that.  This we also came back to play on our second time around the game, so each kid just took a turn punching and getting a prize.

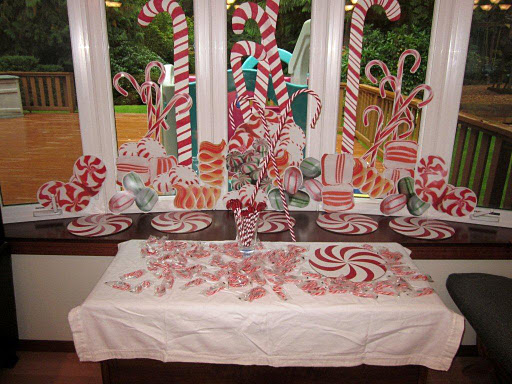
Candy canes and candycane pencils for the goodie bags.
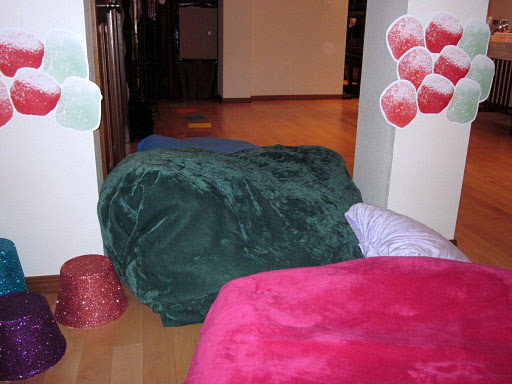
I added glue and glitter to these popcorn and trash buckets from the dollar store to make them look like gumdrops.
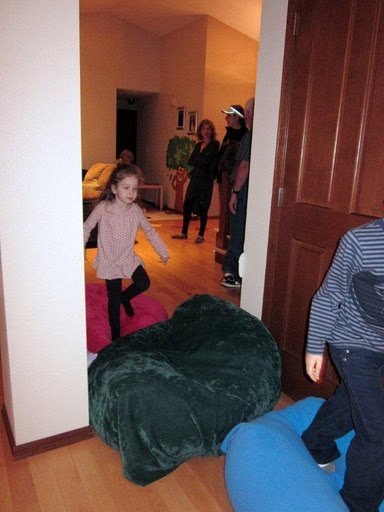
I pinned bright colored blankets over beanbag chairs and pillows to make them look like the gumdrop mountains and the kids had to climb over them!  🙂
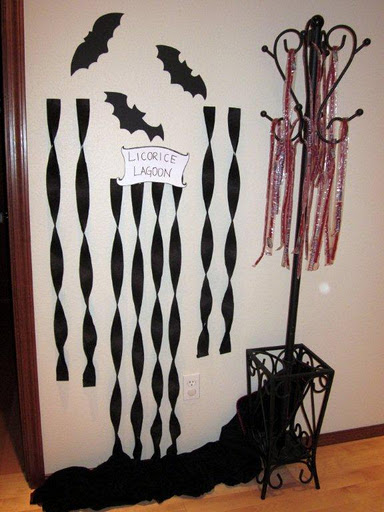
Here, I hung streamers to hopefully look like black licorice and the coat rack worked perfectly to make the licorice tree!

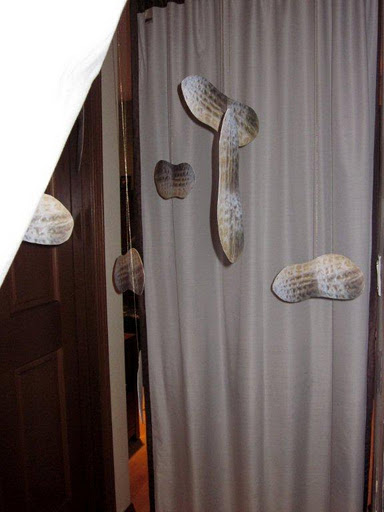
hung 2 brown curtaina that I had in my dining room, with pressure rods over the doorway for Grandma Nut’s peanut brittle house.

Inside the peanut brittle house I printed and cut out peanuts to hang from the ceiling and also taped some to the wall.

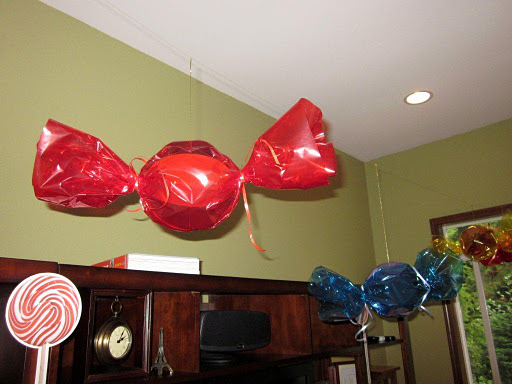
more cellophane covered ballon lollipops.  didn’t know how to get them to stand up, so I propped up a baby gate and covered it with a blanket.. then stuffed in the dowels.  (note that the bigger 3 lolli’s are attached to white wrapping paper rolls and the 6 smaller lolli’s are on wooden dowels)

You may remember the ball shaped decorations from here:  so I covered those with cellophane and whallah!  Dave helped me with the string between the walls to hang them from.

 Whew… hang in there only a couple more places to visit!

DO NOT EAT… these are play putty.  I was excited to find something for the theme that wasn’t candy!!
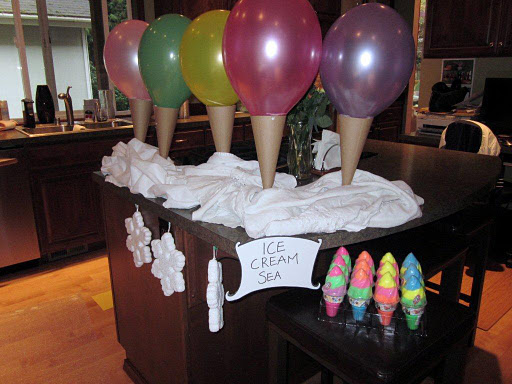
bubble wrap on the floor, so they can pop through the ice cream sea (the board game had lot of bubbles around Queen Frostine, so since a bubble machine probably would have been a little too messy for inside, I thought of this. 
not much decoration here.. just some more brown curtains on the floor for the chocolate swamp and a bench for a bridge to crawl over it!
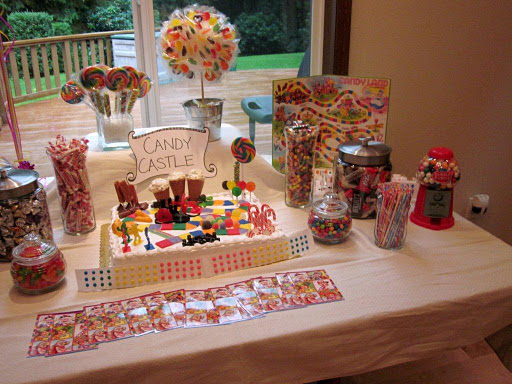
Here is home of King Kandy!  Lots of yummies that the kids got to go around and load up their goodie bags!  (sorry parents)

this would have worked a lot better with dummies instead of these suckers… but oh well.

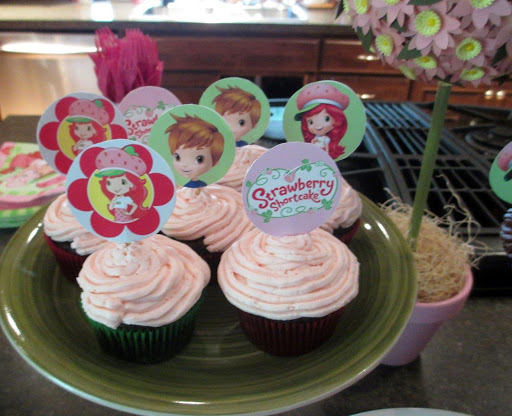
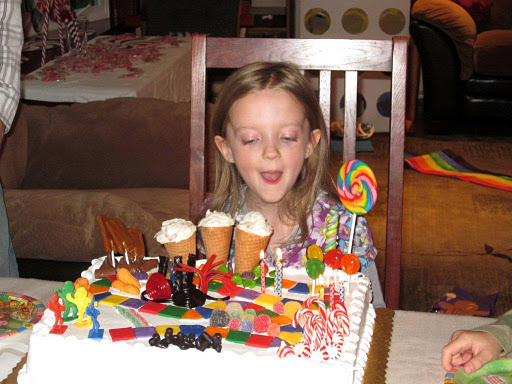
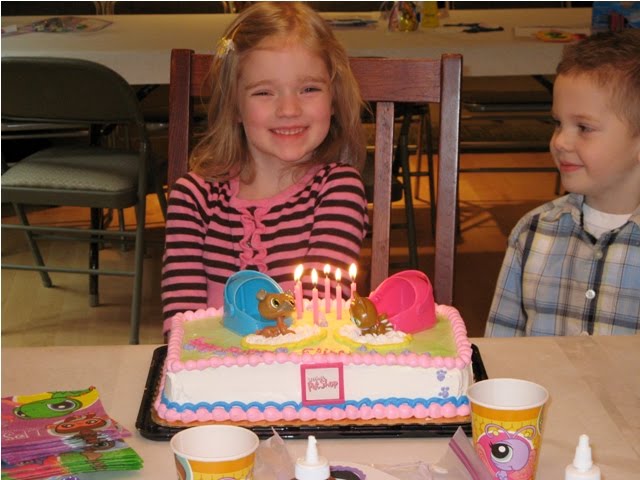
bought a plain white half sheet cake from Fred Meyer and then decorated it with colored fondant and lots of goodies!

The gingerbread pieces are from the board game

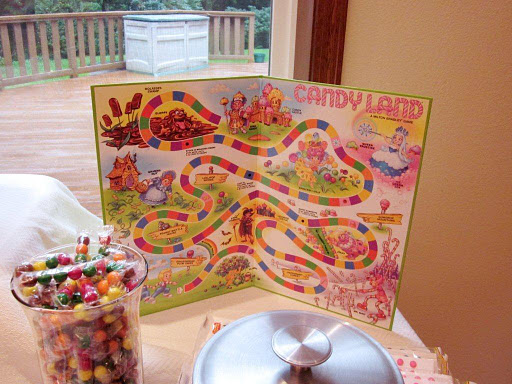
this is the older board game… like the one I grew up with.

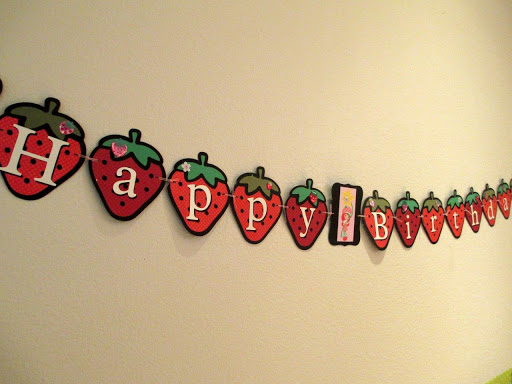
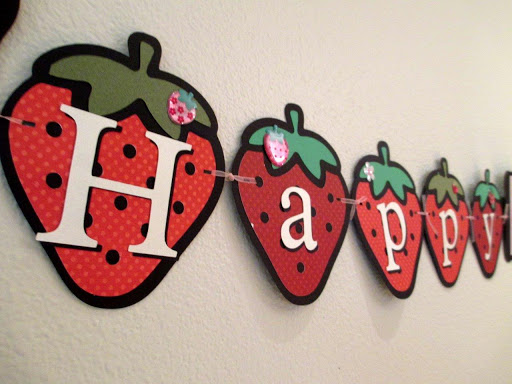
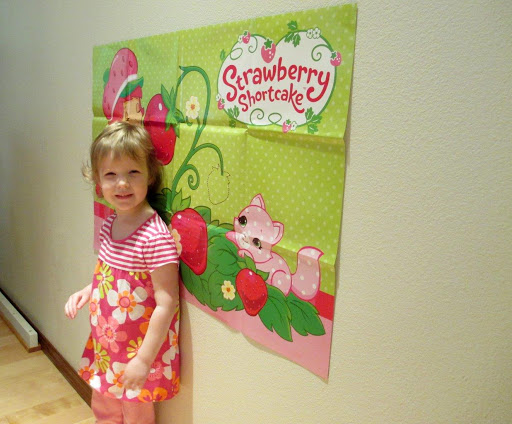
Happy birthday to my amazing 6 year old!

Planning kids parties – Littlest Pet Shop

They are still over 1 1/2 months away, but I am already starting to plan birthday parties for my soon to be one year old and soon to be three year old.  I LOVE planning parties.  I often spend way too much time planning them (that’s why I am starting so early).  I just love getting into the theme and finding cute games or cute crafts to do at the party.  I think my last one… a Littlest pet shop party for Elise’s 6 birthday was my favorite (at home) so far!  I think it turned out so cute.  Here is a little snippet from it: 
We started out with a bit of lunch:  for the kids I made either PB and J or cheese sandwiches cut out into animal shapes, the adults got subway sandwiches, then there was “my” infamous fruit salad, fishy crackers, animal crackers, carrots … I think that was it.

Then, we moved on to the craft:  Littlest pet shop masks.  In the weeks before, I had spent (again way too much) time finding pictures of petshop characters online, printing them out, then cutting shapes of the individual colors, tracing and cutting them out of that foam paper stuff, putting all the pieces into ziplock bags along with a picture of what the petshop character should look like when it is done… then the kids glued the pieces onto the mask and we punched holes on the sides and put an elastic string to make it a mask.  They turned out SUPER cute and I think the kids all liked them!  They were all different and I think I made at least 15 or 16 of them.
 After the craft, we did a pull-the-string pinata (which was a dud… so we ended up just ripping it open and dumping it out.)


And cake!

Lastly, we set up a little pet shop for Elise.  She was the pet shop owner and each kid was given some play money and they all waited in line to buy a pet from the pet shop.  (their party favor)… it was so cute.  I drew a cage onto some clearish-white favor bags, so they could put their pets in their cages to take them home. 


It was so cute and fun.  I will blog soon about my plans for the next couple of parties!  🙂