Kid Art Calendars
So, I wanted something fun to do with the kids last weekend, so we made calendars to hang in their rooms. We did the whole thing in a day and a half, but I would recommend spreading that out a little! (Or another great idea one of my friends had was to use artwork they have already made and brought home from school.) It was super cute how they all have their own twist on each page. I organized them this way:
Our calendars where 9X12. I got most of the scrapbook paper at Ben Franklins… they have these large value packs of 12X12 papers with lots of colors and they are only $15 or something. Great deal. I just used a 3 ring hold punch and punched them before we did the artwork and binded them together with yarn at the very end. I maybe should have measured the middle, because I was off on a few of them… but it was just for fun! Also, we didn’t do a cover since these weren’t for gifts… just for their bedrooms. As usually, I will just talk about what we did under each picture! 🙂
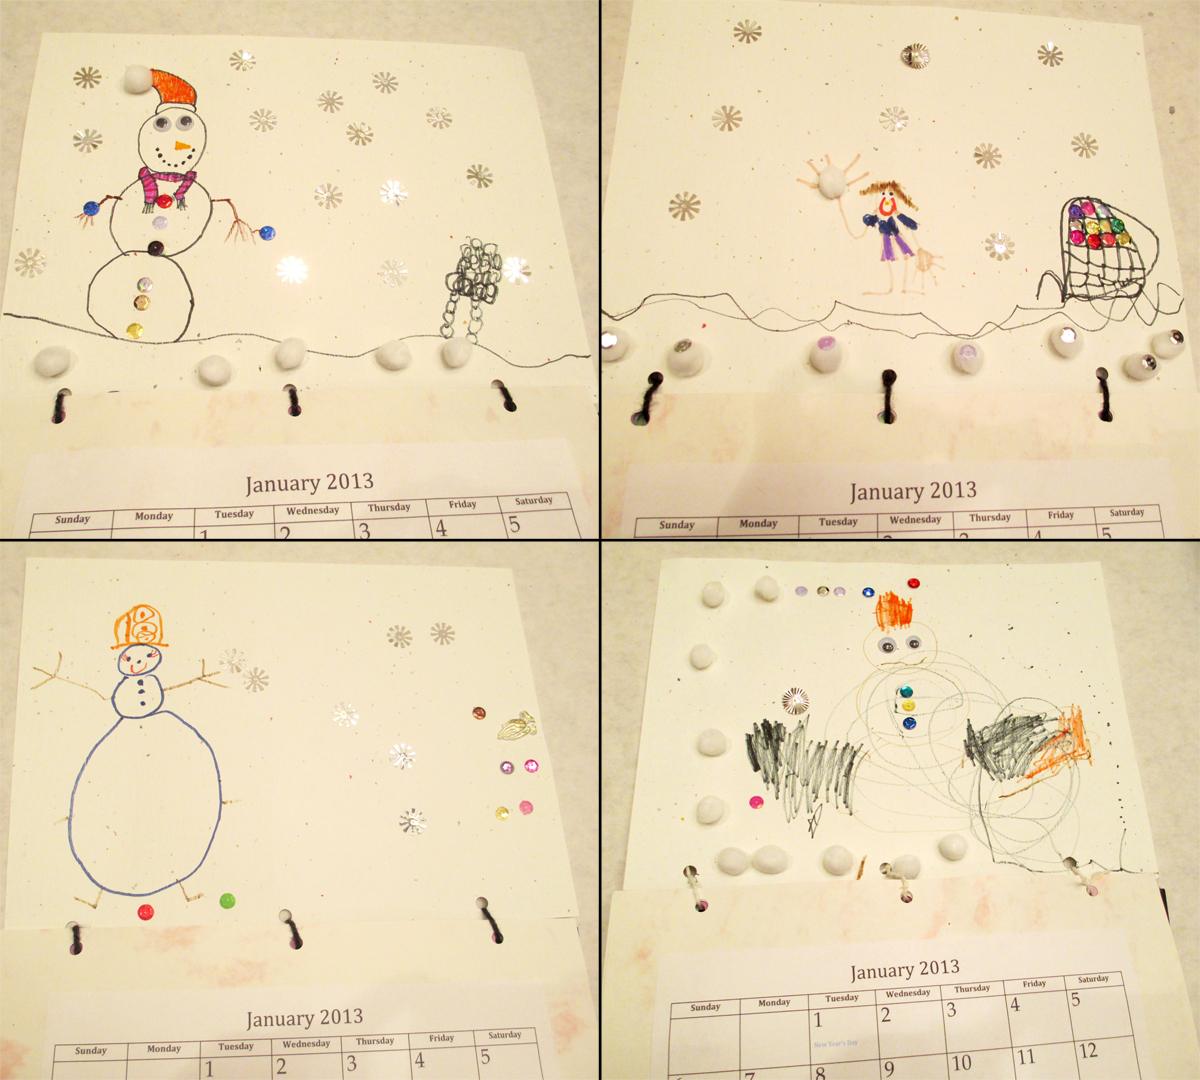
January
 |
| We decored January with markers, pom poms and snowflake sequence. |
February
 |
| We used stamps with this one, and stickers and each girl got one embroidered heart made by grandma. |
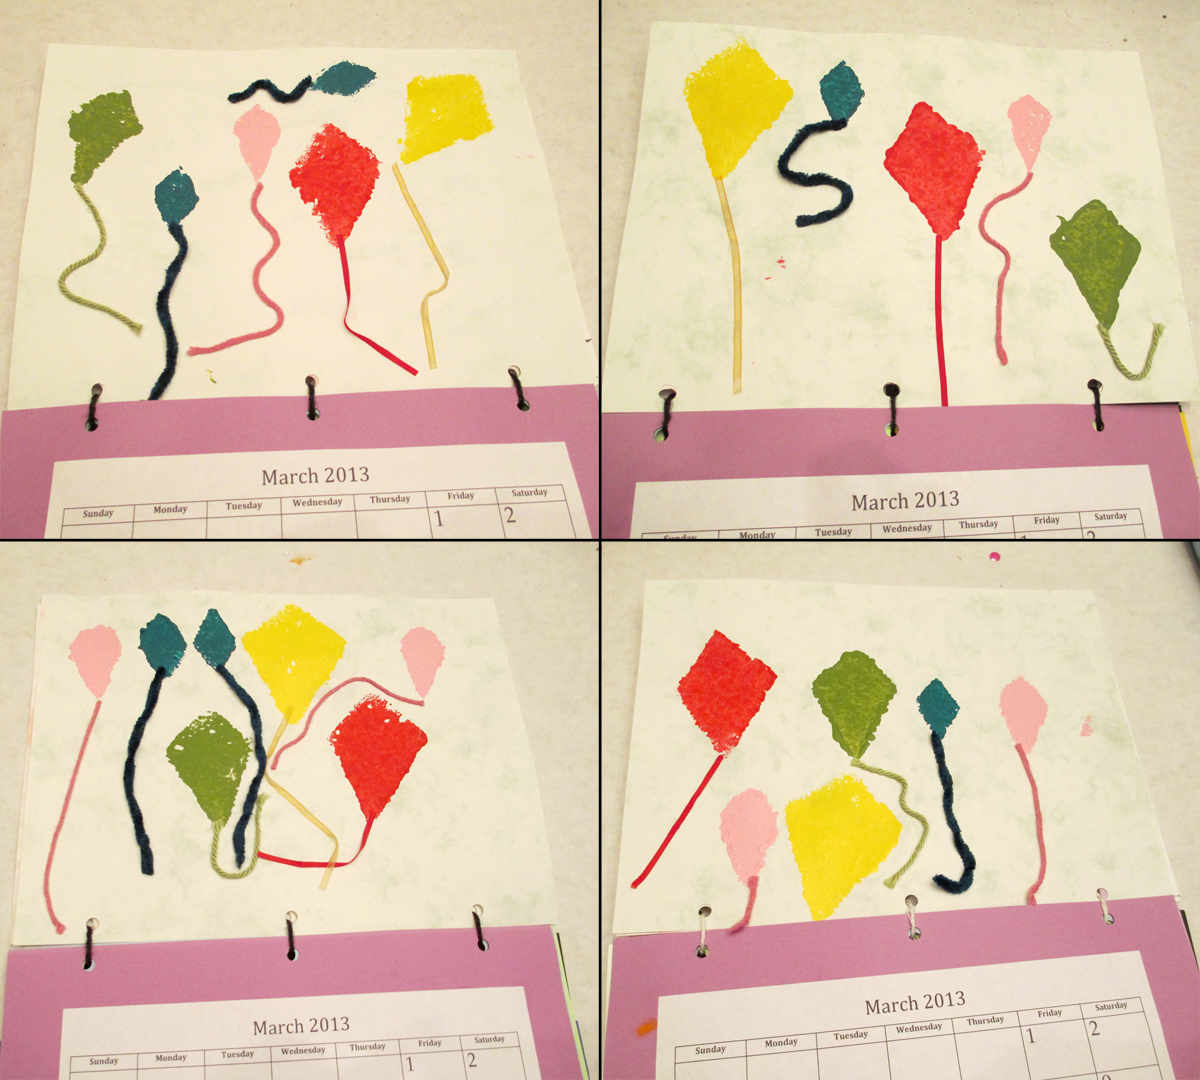
March
 |
| To make the kites, I just cut some kite shapes out of some new sponges that I had and we used acrylic paint to dip them and stamp them and different kids of string/ribbon for the kite strings. |
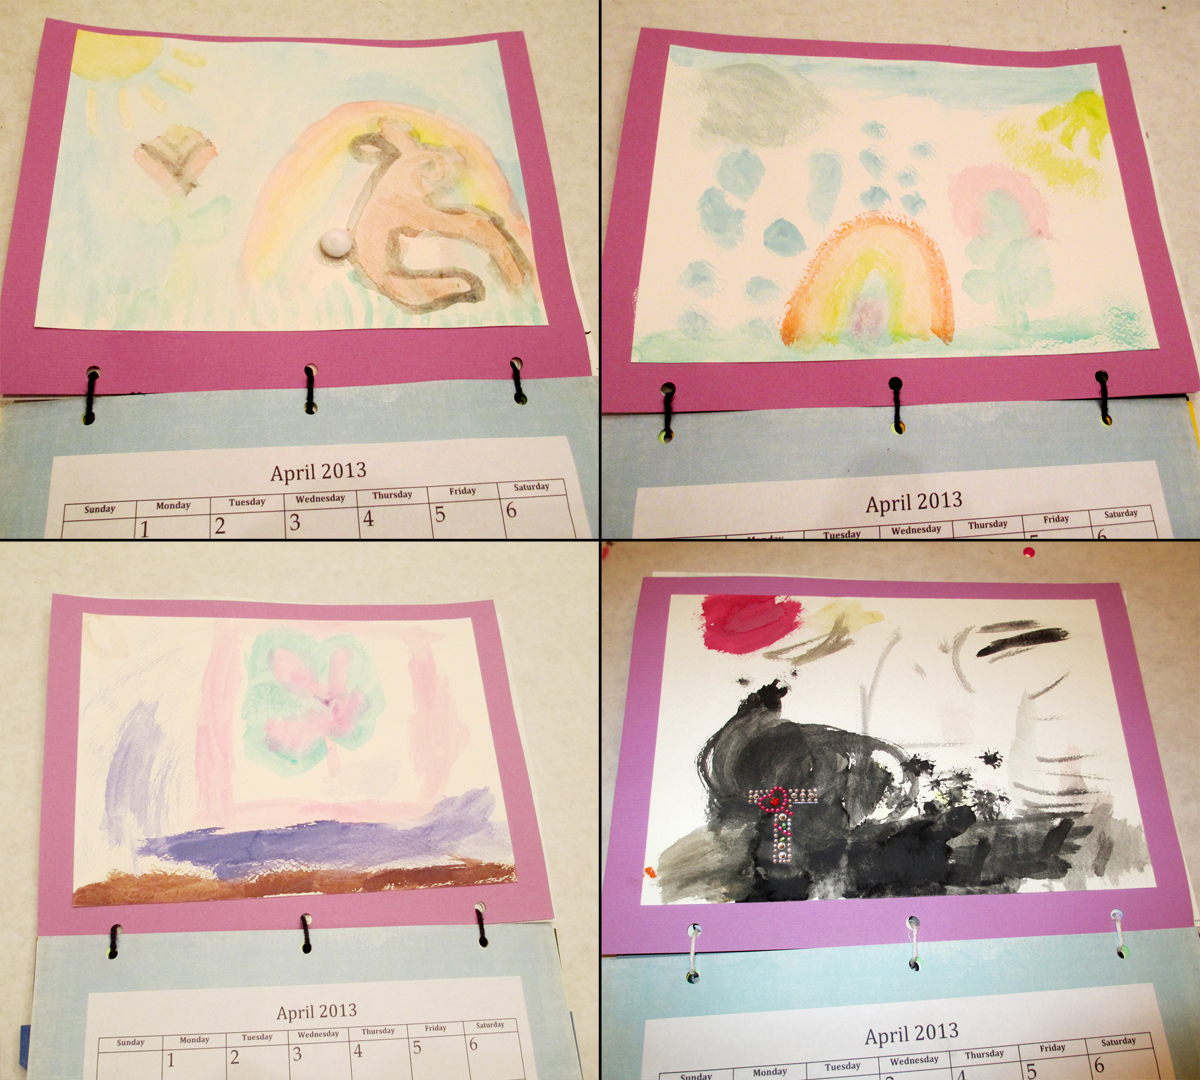
April
 |
| April we did water color to paint a spring picture… I did use water color paper for this and after it dried/pressed it flat under some books, then pasted it on the colored paper. |
May
 |
| I had this super cute paper from a baby announcement years ago and it was so cute and springy, so this was just a sticker and jewel decorating month! Easy peasy!! |
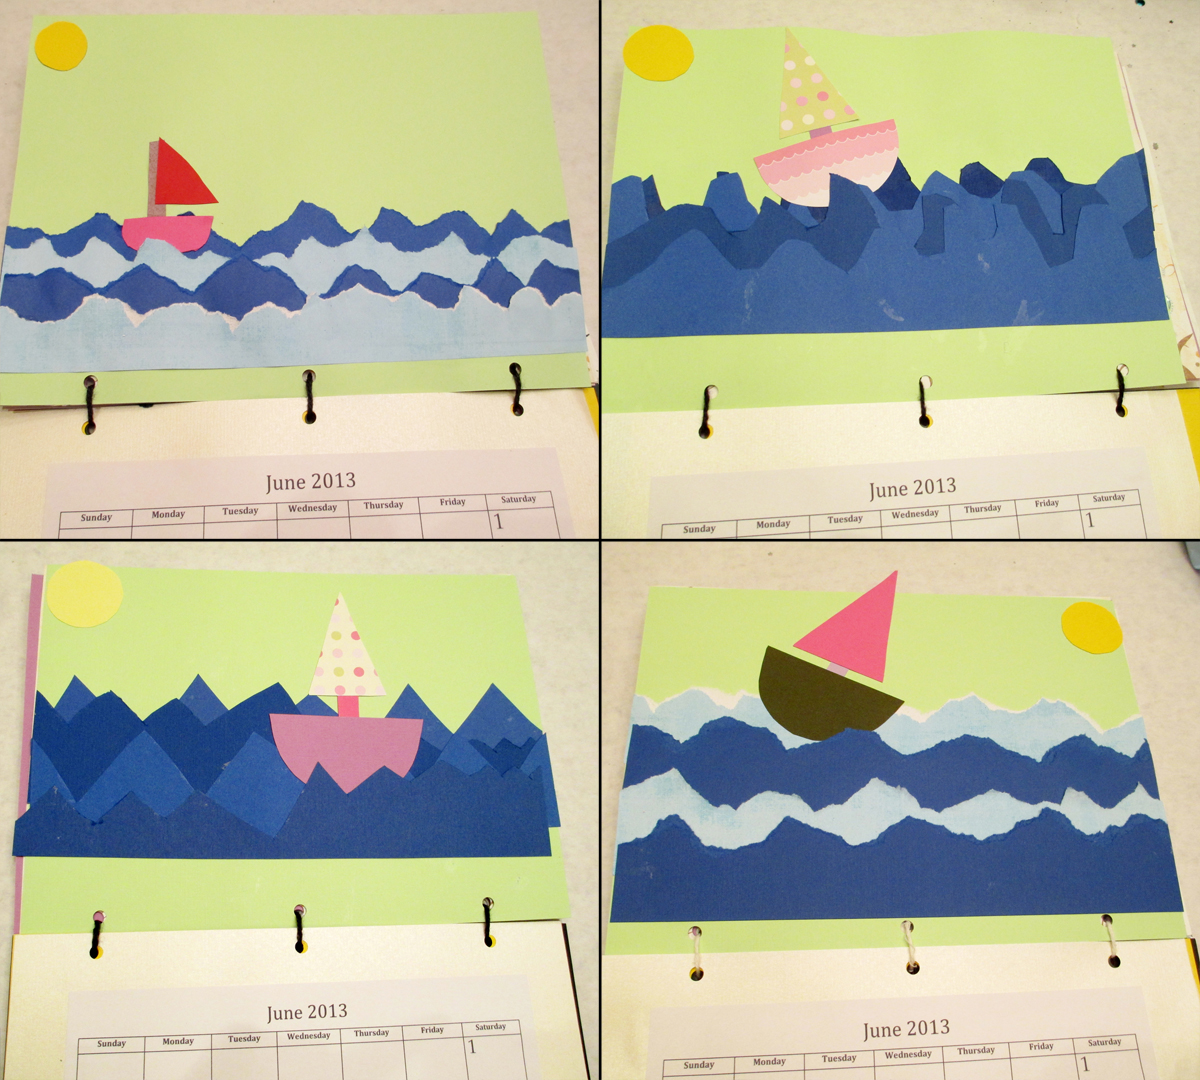
June
 |
| I think June was my favorite and they turned out so cute! This one is just paper and they ripped or cut the waves and for most of them I cut the boat shapes and they glued them on, but they had fun picking their boat colors. |
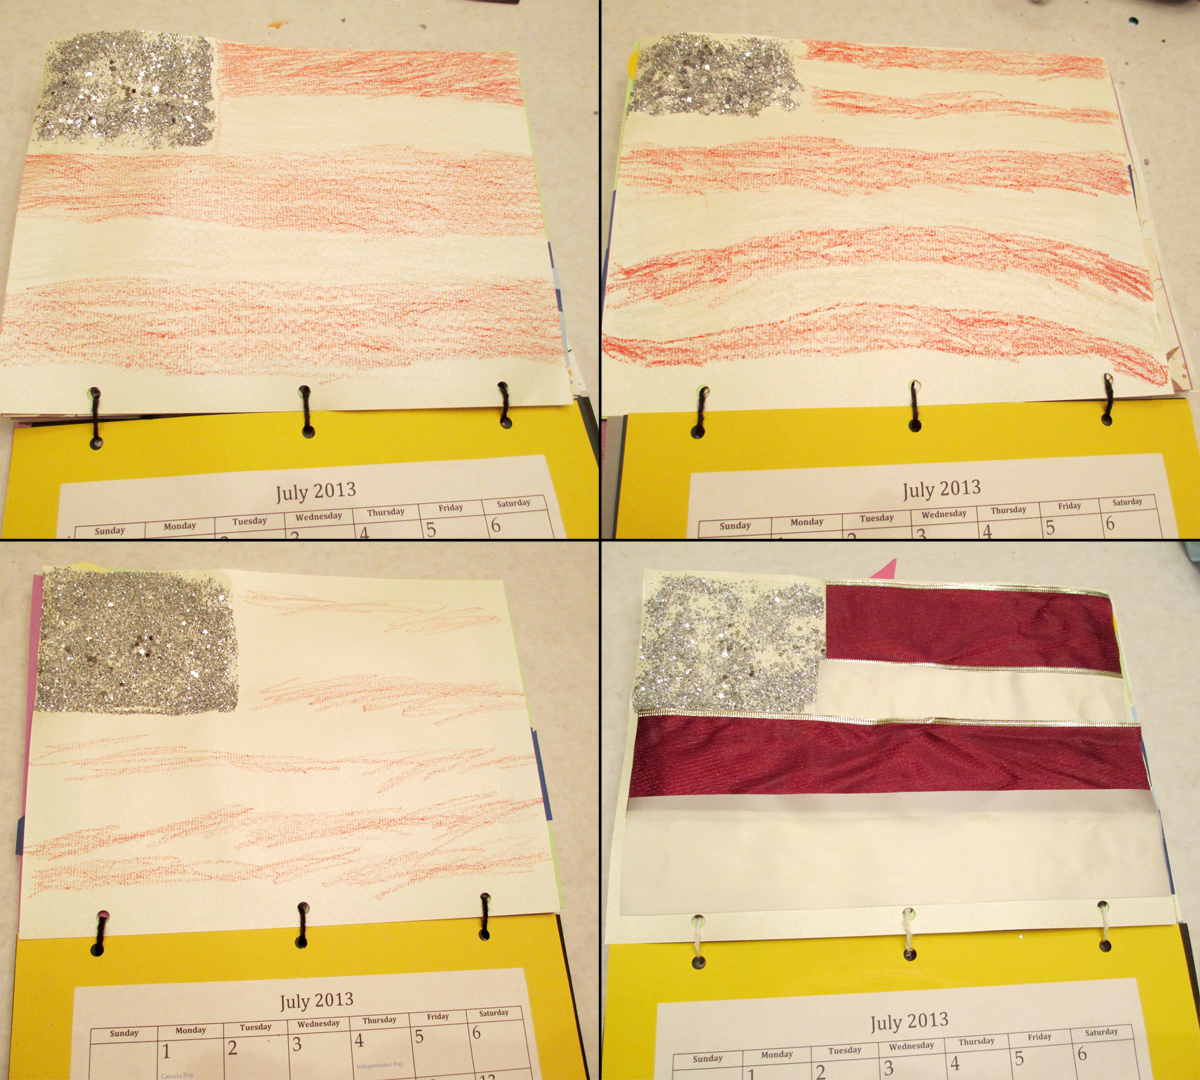
July
 |
| The flags were using glue/glitter/star confetti and they could choose ribbon or oil pastels for the stripes. |
August
 |
| August was the collage month. This was a good project for the choosing and cutting images part, but they didn’t really get the collage part (well, the oldest did). I used to do so much cutting when I was a kid and put different heads on different bodies, etc… I loved it, but maybe I was older, I dont’ remember. |
September
 |
| This was cute also… each girl got to choose the “schoolhouse” they liked best (from Bing Image Search). Then I printed out a picture of each of them and cut the doors of the school’s open and they put their picture in there. Super cute and my 3 year old giggled about that for quite a while. |
October
 |
| 3 girls did painted pumpkins for October and Elise did a yard pumpkin… just put a circle of glue and spiraled from the center out of yarn. It wasn’t as easy as I thought it would be but still turned out cute. The faces are paper and I ran them through my new Zyron sticker machine… LOVE that! They are cheap, you should get one… you can turn any paper into a sticker with just a few turns of a knob! |
November
 |
| Turkeys! We made hand prints (right after they were done painting their orange October pumpkins) and then they glued on feathers, googly eyes or jewels. finished off with some marker details (and it looks like a couple stickers just for good measure. LOL) |
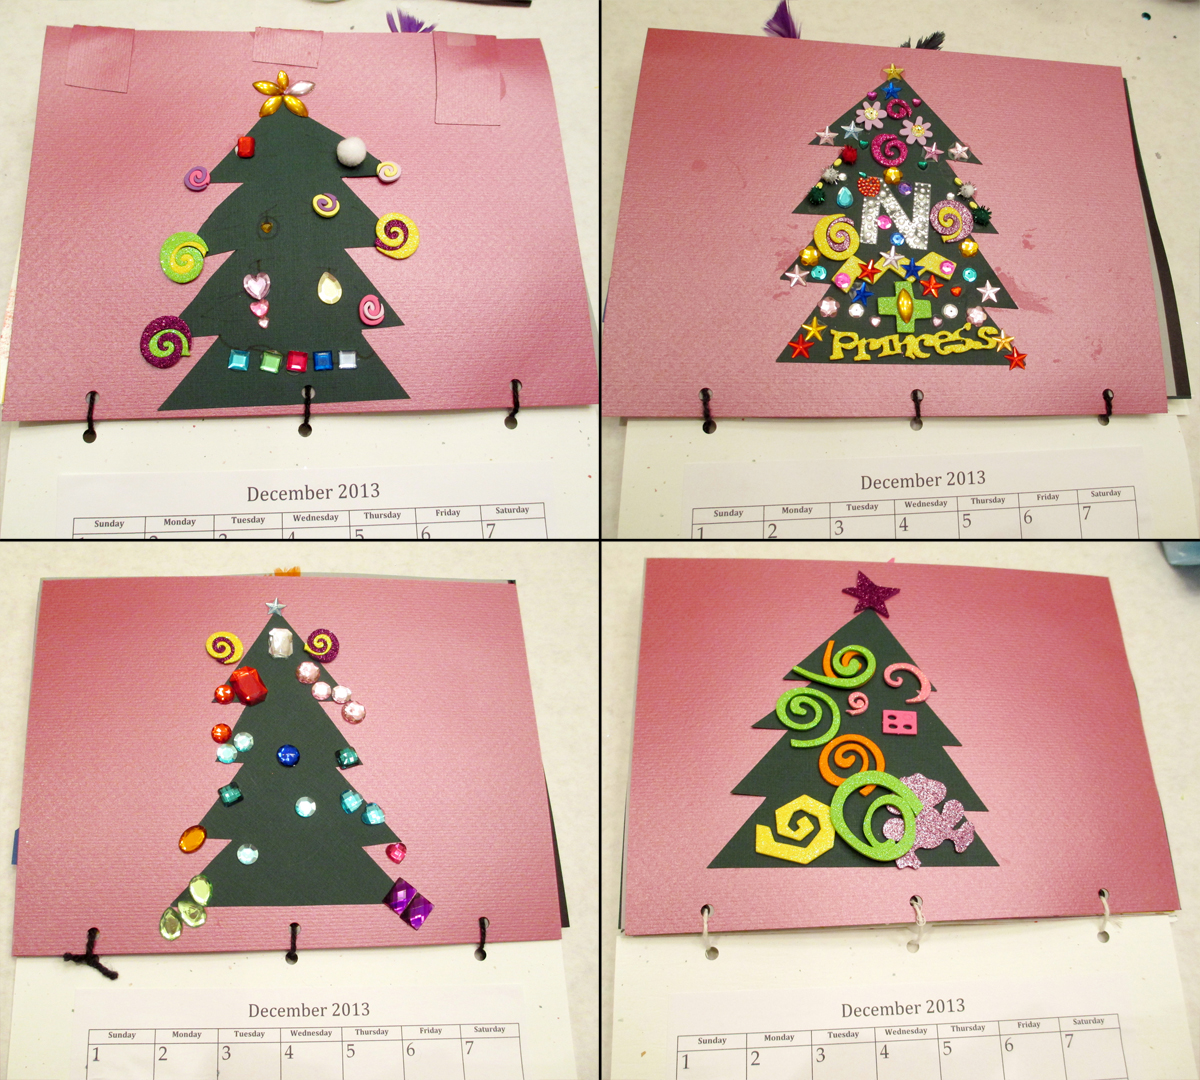
December
 |
| Christmas trees made out of paper and decorated with stickers and jewels. Can you tell that I like sparkles? And I think the girls do also! |
At the end, I put them all together, along with a plain sheet for the back cover. (stack them in reverse order with January at the bottom, so they hang right). I first used twine to bind them, but the yarn worked a little better and was more sturdy. Lastly, I had printed off the calendar from
here and pasted them on. For hanging, I use a large “bulldog” clip hooked to a nail on the wall… like
THIS one.
Hope you all can have some fun craft times with your kiddos too! 🙂