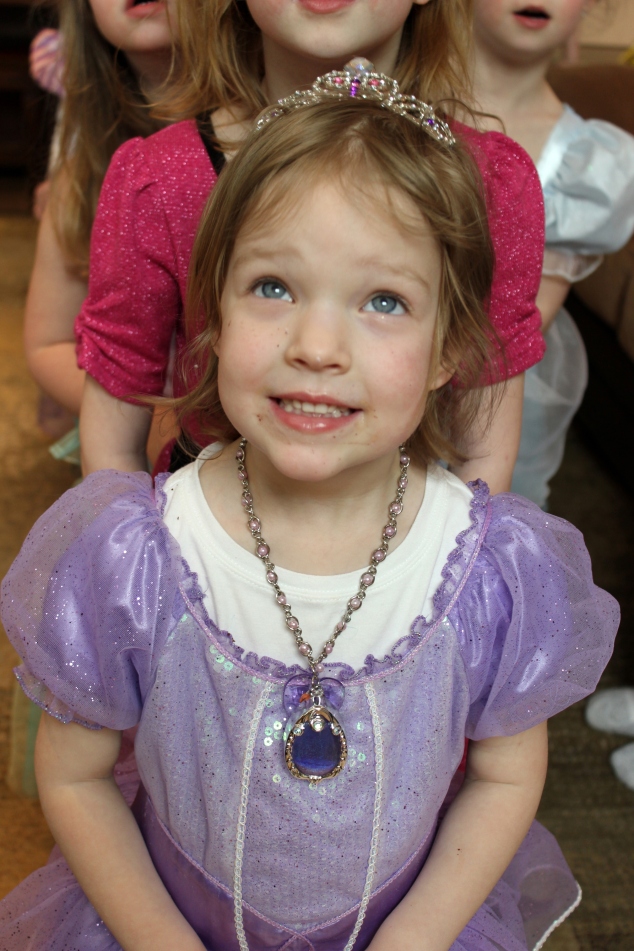
Sofia the First Party

We had a Sofia the First Party for my 5 year old.  It was so cute and we just love Sofia around here.  I got carried away with all the little detailed crafts on this one … I had lots of fun with that part.  I should have planned a couple more games or activities, but it all worked out in the end.

IMG_4201

This was a fun (yet time consuming) little craft for the front door. below is a picture of how I did it.

IMG_4202

I got to reuse these flowers from a couple years ago… made from my cricut flower shoppe cartridge

IMG_4203

.

IMG_4205

IMG_4207IMG_4206When the girls arrived, I had them start by decorating crowns while we waited for all the guest to arrive.


IMG_4219

IMG_4218

IMG_4216

Below is a tip on decorating a cake stand in a temporary way that won’t damage your platter.

IMG_4215

found this super cute butterfly dish from HomeGoods

IMG_4212

Birdies and flower from Michaels Craft Store

IMG_4211

I hot glued giant jewels onto wooden skewers and then added the grapes

IMG_4210

IMG_4209

Lace glued onto mini water bottles

IMG_4208

guess I didn’t get a picture after I made the punch, but it had raspberry sherbet in it … yum…

IMG_4214

Saw this adorable sofia the first cupcake cake idea on Pinterest. The white pearls are sixlets candy and the amulet is a homemade purple hard candy (in a jewel mold)

We watched an episode of Sofia the First during snack.
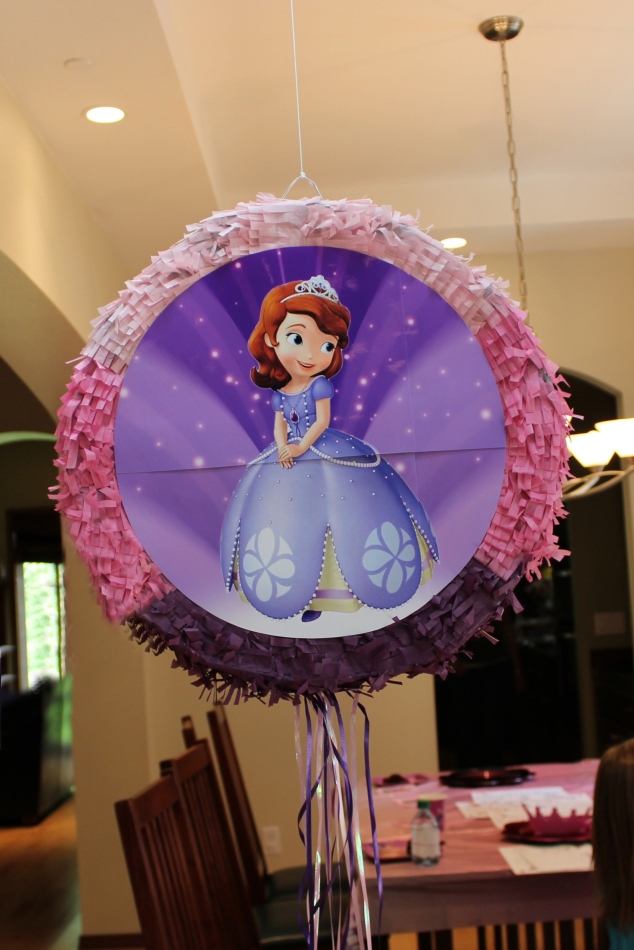
IMG_4240

FYI… spray adhesive works better to hid the seams on a printed image, but I didn’t do that this time… whoops

IMG_4235

cake time

IMG_4237

IMG_4239

cake face

IMG_4251

parachute games to fill some time (see my lack of planning games this time above)…

IMG_4246

crawling under the parachute

IMG_4222

party favors … found these super cute crocheted flowers in the dollar bins at Michaels and I hot glued a barrette to the back. Inside the bags are stickers, cheap tiaras (that I added some jewels to, to make them sparkle) and these (earring/ring set)

IMG_4220

I made amulets from beads from Michaels onto a thing ribbon. made the mistake of not making the ribbon long enough for some kids to get over their heads… 😦

That’s the party!  Now here are those last 2 how to projects mentioned above:

IMG_4200

I just took 2-3 strands of heavy gauge wire and made it into a large “5” … then cut little squares of purple tulle (you can barely see them on the table) and bunched them in the middle and hot glued the center onto the wire. Lastly I added some butterfly clips as shown in the top picture.

IMG_4193

Under my cake stand I attached some scotch packing tape around my platter (and stuck another one under it with sticky sides together, so it was only stuck to the platter at the very top and wouldn’t stick to it below.) Then you can hot glue whatever tulle, ribbon, fabric or lace onto the tape. When the party is over, just cut it all off… so this is pretty much a one time decoration.

Owl birthday party!

Well, its April again, so we just celebrated the 1st of 2 birthdays.  My 5 year old was looking through the list of party themes from the Birthday Express catalog, and she loved the owl blossom party supplies, so we went with that theme.  I started by crocheting amigarumi owls for decorating the room (Ravelry has a ton of cute patterns).  After deciding on my upcoming 3 year olds party theme, we got our orders together for birthdayexpress.com and orientaltrading.com.  I just love getting all those fun supplies in the mail! 

Last week, we had 16 little party friends come to have a hoot at our Owl party.  My little birthday girl had a lot of fun and we even got a sunny day!  Here are the pictures: 

Had trouble with this flipping in a bit.  😦  Oh well
Love these wall stickers from birthdayexpress!  And I can now move them to a bedroom for a cutsie wall


When the kids arrived, we started with a craft:  painting owl suncatchers.  I found these great markers from JoAnns to use instead of paints.  Was super easy for a 5 year old to do, but they do like to glob it on, so it did take a while to dry. 
Owl aprons to put on to protect their clothes from paint!

Next up, I printed and glued this own onto some cardboard… cut the mouth hole out and the kids had a beanbag toss into the owls mouth.

My mom helped by making these super cute bean bag mice out of felt, string tail and a pompom nose.

Decorations over the food
food display… saw the idea for the wood displays and platter stands on pinterest!

we had some allergy kids coming to the party, so I tried to make sure we had things they could have!

Gluten free rice krispie cupcakes

Don’t you just love cupcake cakes?

the betty crocker butter chocolate cake mix was SUPER yummy…  I recomend you try!! and I don’t even usually like chocolate cake!)

Was thrilled to see this on orientaltrading (they were for Valentines, so I even got them on clearance!)

Oh … and happened to find these owl label stands in the dollar section at JoAnns!

pinata

presents
party favors
the boys got a wallet and the girls got an owl purse and they got to keep their aprons, suncatchers, and loot from the pinata.
After the party, the kids got to go outside and play to burn off some sugar.  🙂  Again… super thankful for the sunny day!  Happy birthday sweet girl!

5-year old Hello Kitty party

After a half year off, birthday season has come once again.  So, to start things off, Nora decided she would like a Hello Kitty party this year.  I love Hello Kitty, so it was a fun party to plan and relatively easy. 
First off were the invitations:

I bought the Hello Kitty cartridge for my Cricut die cut machine to make these and headed to Ben Franklin to get the cute papers.  For the inside, my super easy trick to adding the words is to print them out on Avery clear full sheet labels found at an office supply store… I love this stuff!  Then you can just cut it to the shape you want and stick it on exactly were you want it.

For the decorations:  I made some more Hello Kitty wall decor from my Cricut and put them all over the walls along with printing off some larger Hello Kitty faces and Daniel (the boy Hello Kitty) because there were boys coming to the party. 

The printed Hello Kitties are a little trickier… since you can’t find large images online with supercrisp edges, I usually find some that I like and “trace” them in Adobe Illustrator (which is a designer’s program that can create images that look crisp and sharp no matter how big or small you stretch stretch them).  (Note: I didn’t make the poster)
I also had the girls go around the house on a Hello Kitty treasure hunt to find little things for decorations like stuffed dolls, books, etc.  And then I bought the licensed plates/cups/table cover, etc. 

For the games:  I did 3 games, plus a pinata.  As we were waiting for more guests to arrive, my wonderful helper and husband, Dave, had the kids in a circle and played “hot potato” using a ball of yarn as the “potato”.  The kids were having fun just tossing it around really fast that we never did end up using the music (we picked the DisneyMania rock version of “We are Siamese” from Lady and the Tramp).  The second game was pin the bow on the Hello Kitty (bought this one).  For the third game, while the kids were eating, I hid a bunch of mice around the room and then had them all get on their hands and knees like Kitties and hunt for the mice.  🙂  They were pretty freaky looking mice too… I was thankful to find them in the Halloween section of the party store.  The pinata was a pull-string one (and it actually worked this time!!) and we filled with candy (of course), stickers, and silly bands!

Food:  This was a pretty easy one this time… only required about a half hour or so of prep time before the party.. it was awesome!  Mini pizzas (English muffins with a little pizza sauce and cheese and baked until the cheese melts), Papa Murphy’s pizza for the adults, strawberry (PINK!) gogurt, strawberries and apples cut up into a little fruit salad, caesar salad for the adults.  Drinks: PINK raspberry lemonaide, Pink strawberry milk or water.  This time we had all the kids sit down at the table and dished up in the kitchen and handed all the kids their plate (was a lot easier than having them all go through a line).  I forgot to take a picture when the food was out, but here are the before pictures:

The cake was from Fred Meyer:  white with white whipped frosting and german chocolate in the middle… it was SUPER yummy!

For the party favors, when the guests first game, they got either a flower clippie for their hair or bow ties for the boys (but the boys didn’t really want to wear them, oh well).  I made the flowers out of pink and yellow Sculpey (with 2 holes in the middle of the flower) and baked them, then used pipe cleaner to add them to silver barretts.  As the guests were leaving, they got a bag with the rest of the favors:  I found some 100 piece puzzles for a really good price at Michaels (Hello Kitty or Princesses for the girls and Toy Story, Cars, etc for the boys), glow bracelets, and for the girls, Hello Kitty lip gloss (Target) and for the boys, a couple sports $1 items.


 And that’s about it!  Happy birthday Nora!!