Sofia the First Party

We had a Sofia the First Party for my 5 year old.  It was so cute and we just love Sofia around here.  I got carried away with all the little detailed crafts on this one … I had lots of fun with that part.  I should have planned a couple more games or activities, but it all worked out in the end.

IMG_4201

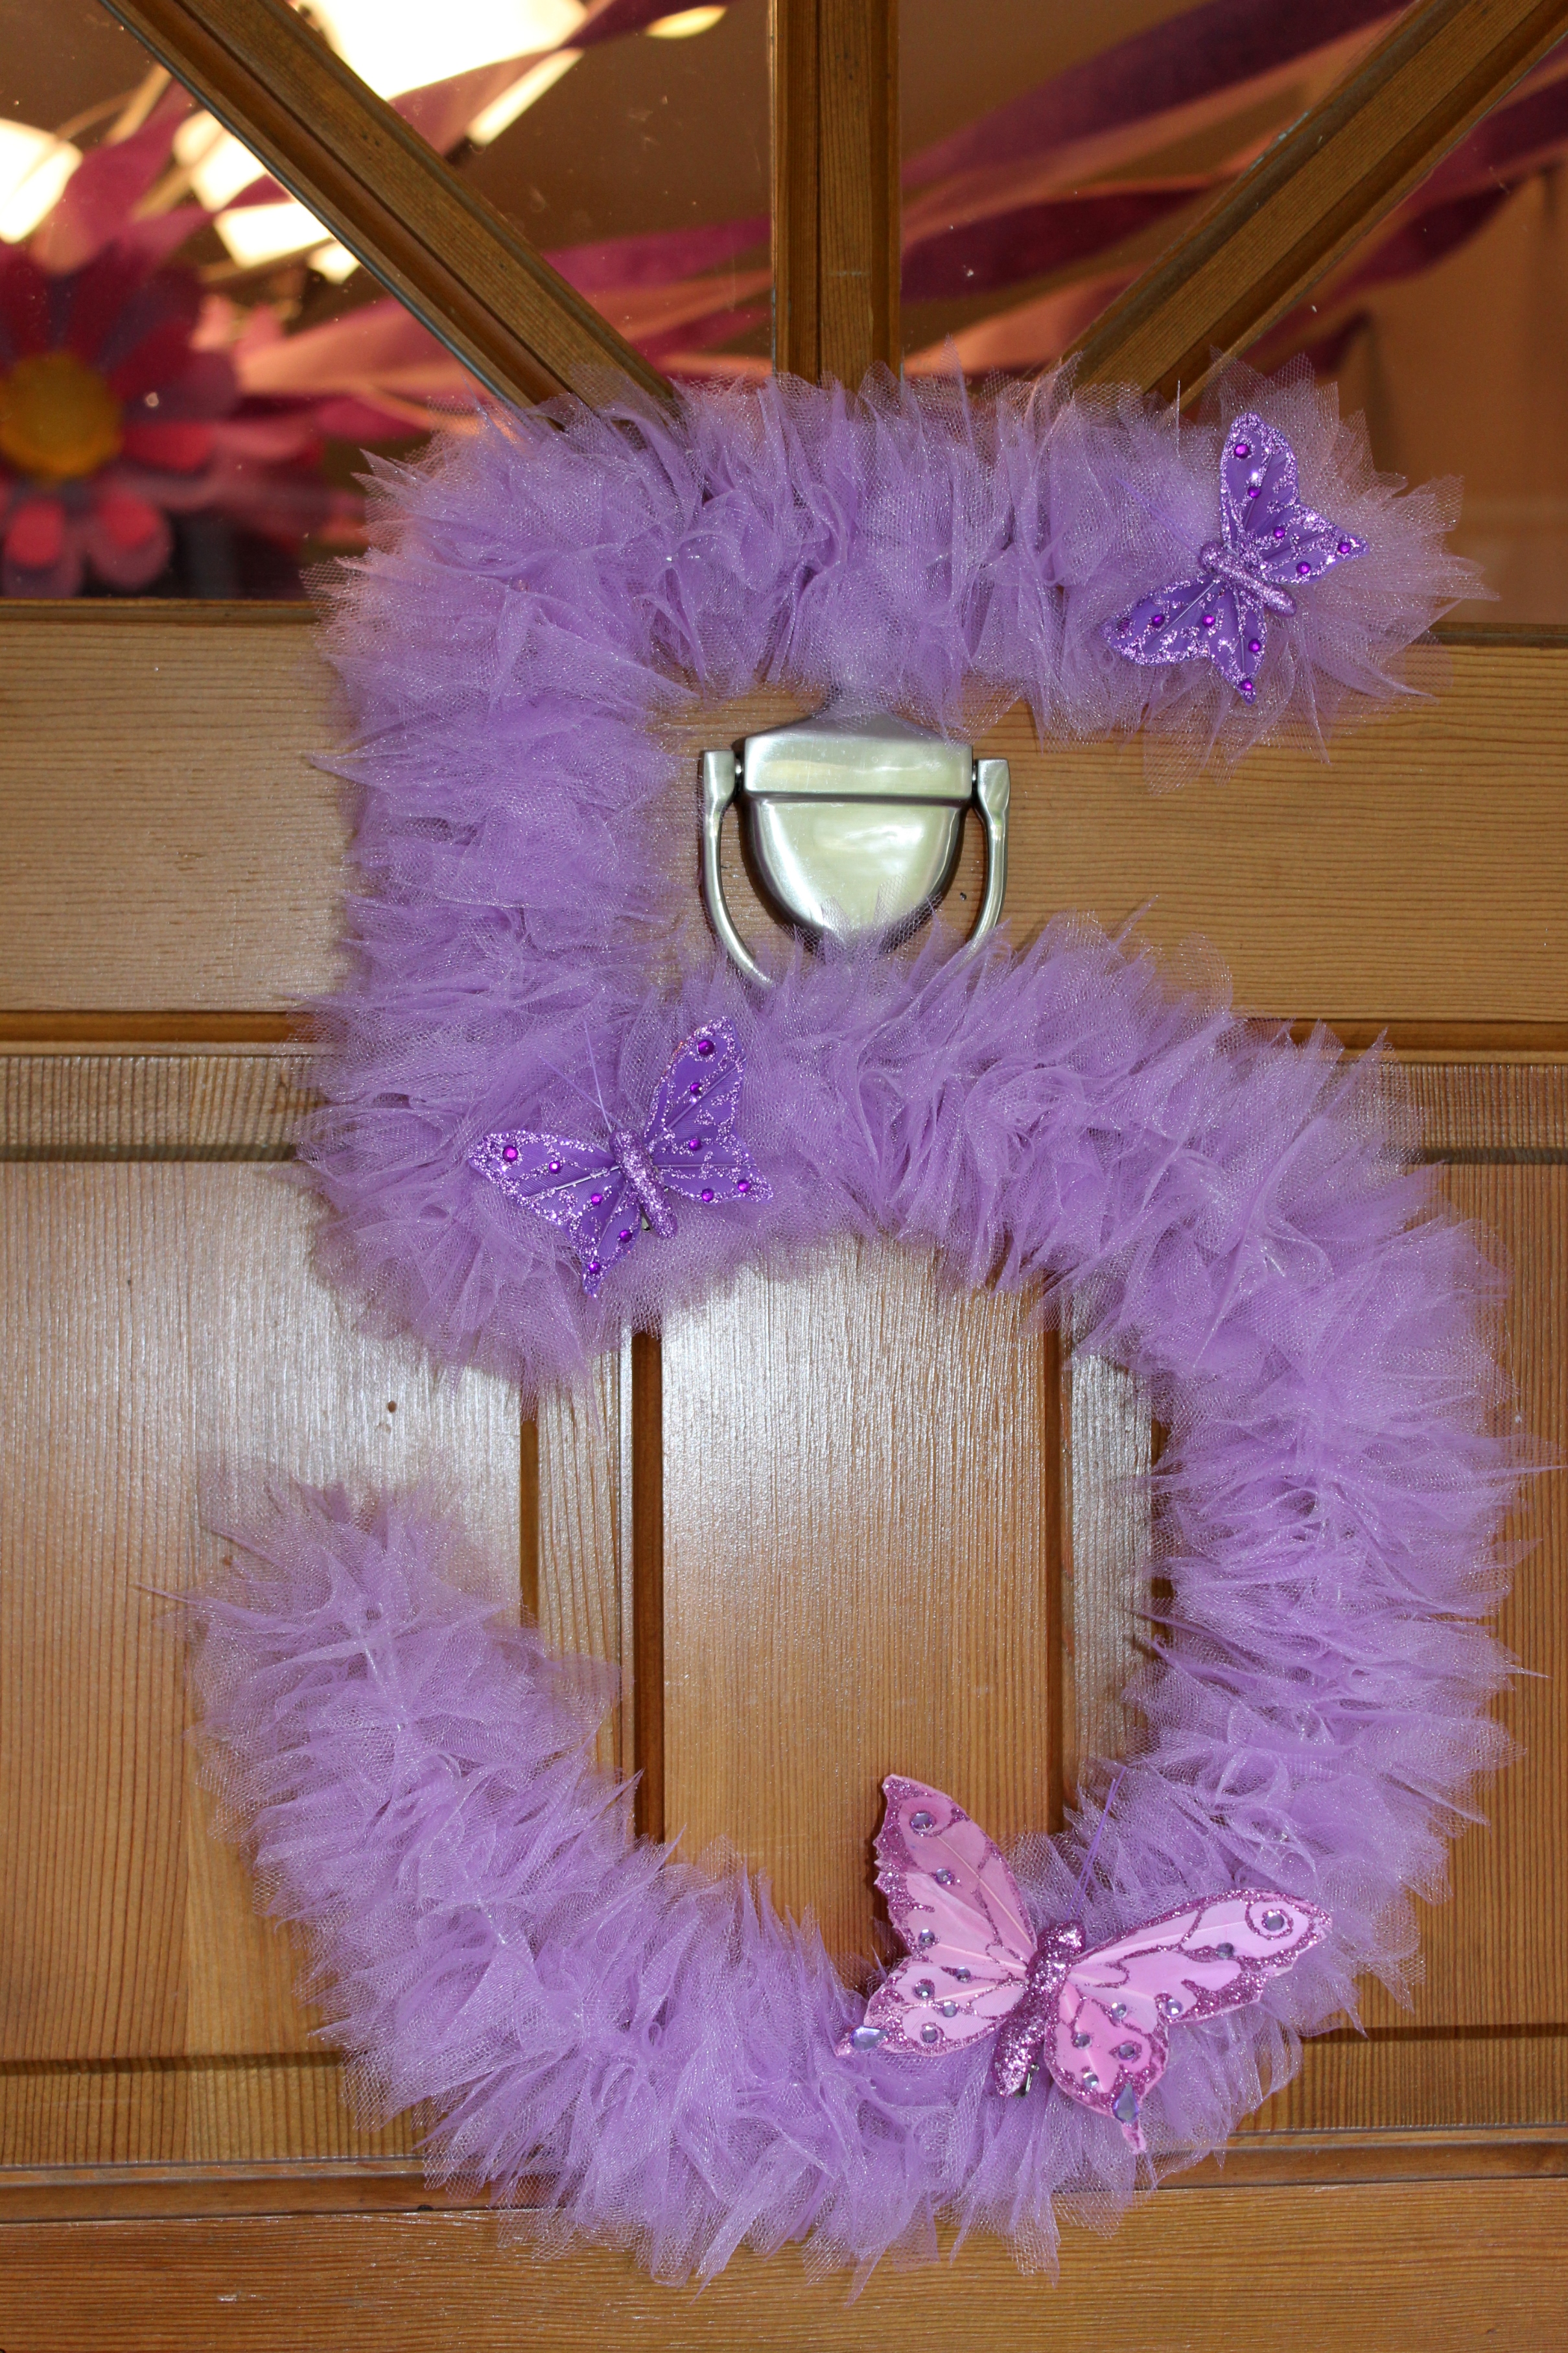
This was a fun (yet time consuming) little craft for the front door. below is a picture of how I did it.

IMG_4202

I got to reuse these flowers from a couple years ago… made from my cricut flower shoppe cartridge

IMG_4203

.

IMG_4205

IMG_4207IMG_4206When the girls arrived, I had them start by decorating crowns while we waited for all the guest to arrive.


IMG_4219

IMG_4218

IMG_4216

Below is a tip on decorating a cake stand in a temporary way that won’t damage your platter.

IMG_4215

found this super cute butterfly dish from HomeGoods

IMG_4212

Birdies and flower from Michaels Craft Store

IMG_4211

I hot glued giant jewels onto wooden skewers and then added the grapes

IMG_4210

IMG_4209

Lace glued onto mini water bottles

IMG_4208

guess I didn’t get a picture after I made the punch, but it had raspberry sherbet in it … yum…

IMG_4214

Saw this adorable sofia the first cupcake cake idea on Pinterest. The white pearls are sixlets candy and the amulet is a homemade purple hard candy (in a jewel mold)

We watched an episode of Sofia the First during snack.

IMG_4240

FYI… spray adhesive works better to hid the seams on a printed image, but I didn’t do that this time… whoops

IMG_4235

cake time

IMG_4237

IMG_4239

cake face

IMG_4251

parachute games to fill some time (see my lack of planning games this time above)…

IMG_4246

crawling under the parachute

IMG_4222

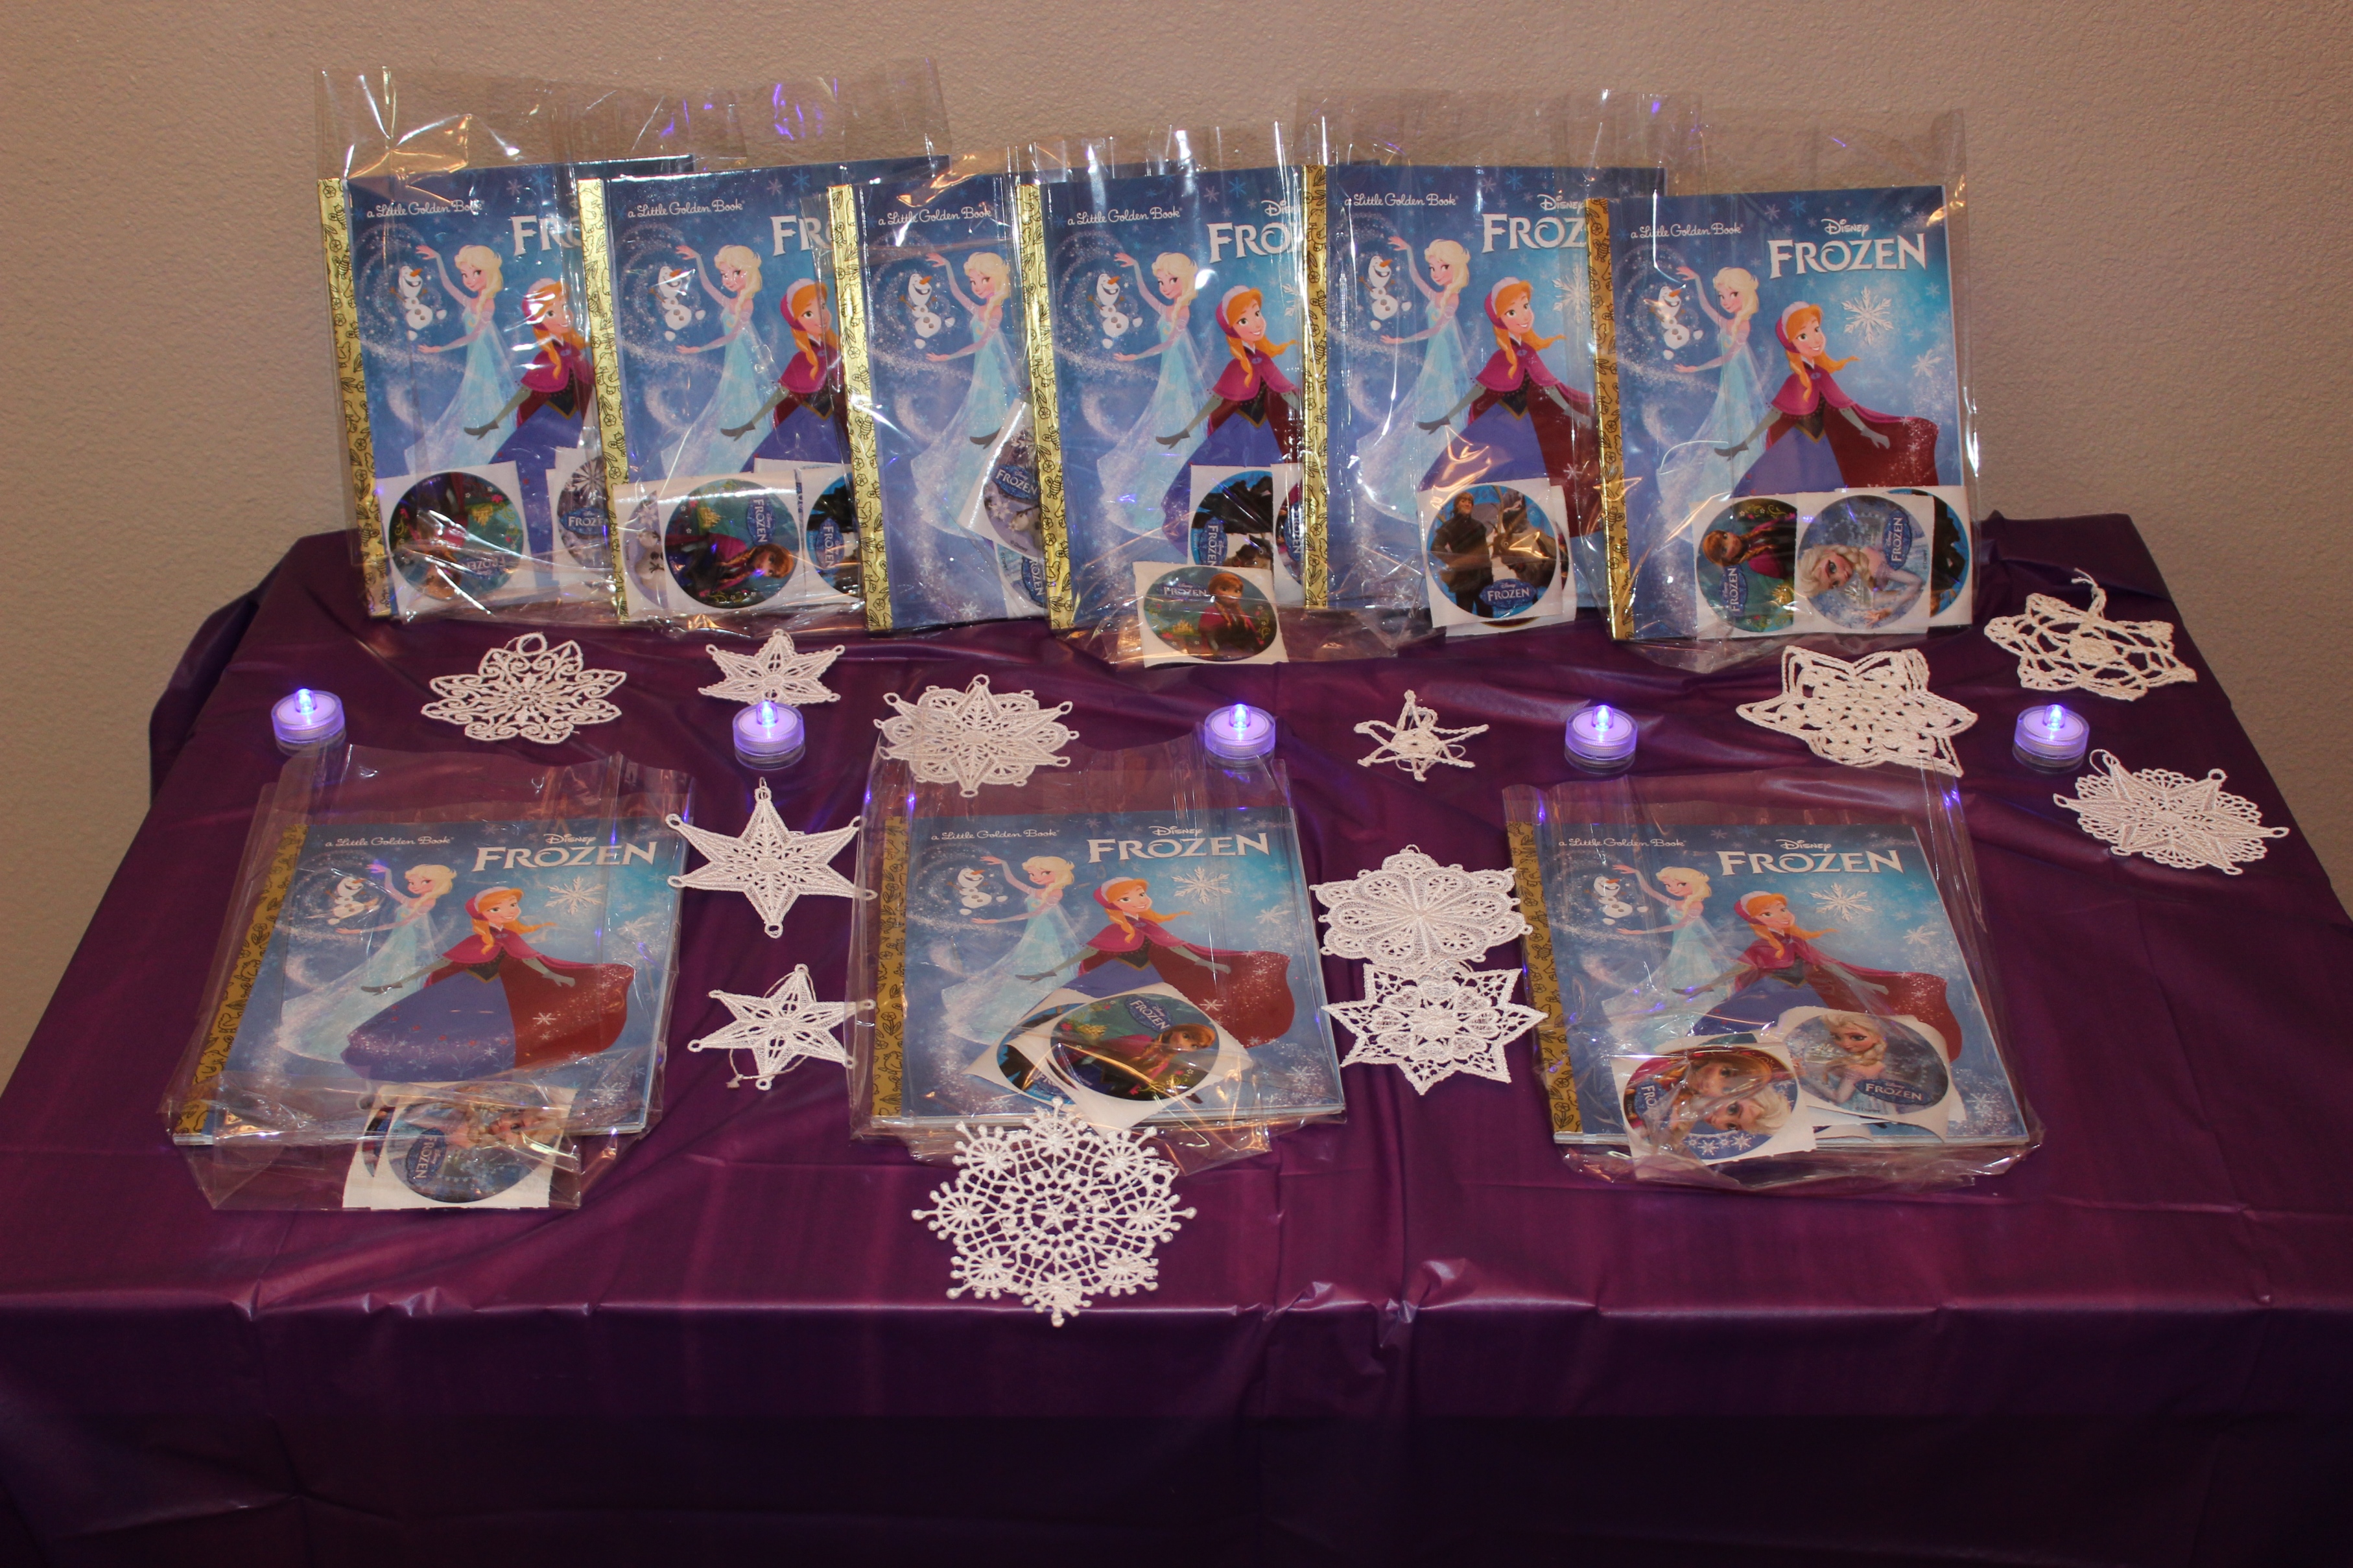
party favors … found these super cute crocheted flowers in the dollar bins at Michaels and I hot glued a barrette to the back. Inside the bags are stickers, cheap tiaras (that I added some jewels to, to make them sparkle) and these (earring/ring set)

IMG_4220

I made amulets from beads from Michaels onto a thing ribbon. made the mistake of not making the ribbon long enough for some kids to get over their heads… 😦

That’s the party!  Now here are those last 2 how to projects mentioned above:

IMG_4200

I just took 2-3 strands of heavy gauge wire and made it into a large “5” … then cut little squares of purple tulle (you can barely see them on the table) and bunched them in the middle and hot glued the center onto the wire. Lastly I added some butterfly clips as shown in the top picture.

IMG_4193

Under my cake stand I attached some scotch packing tape around my platter (and stuck another one under it with sticky sides together, so it was only stuck to the platter at the very top and wouldn’t stick to it below.) Then you can hot glue whatever tulle, ribbon, fabric or lace onto the tape. When the party is over, just cut it all off… so this is pretty much a one time decoration.

How to make a jeweled placeholder

IMG_4167I wanted some cute placeholders to display the food titles for my daughter’s Sofia the First party.  So, here is a tutorial for you all who are interested.

IMG_4170

Here are the supplies needed: 12 gauge floral wire, bottle caps, jewels, hot glue gun, wire cutter, needle nose pliers, round tip pliers (optional) and something with a sharp metal point (I used a compass)

IMG_4173

poke a hold in the middle of the bottle cap with a sharp metal point.

IMG_4186

Measure about 8″ of wire and cut

IMG_4178

insert wire through bottlecap

IMG_4179

bend the end and press it in

IMG_4180

hot glue to secure the end

IMG_4185

bend wire in half about half way through and using the rounded tip pliers, swirl the end all the way to the bended part.

IMG_4184

keep that swirl going

IMG_4169

after completed, hot glue a jewel sparkle over the swirled part at the top and some jewels on top of the bottle cap.

IMG_4192 IMG_4188

Frozen Party

Here are pictures from my 7-year-old’s Frozen Birthday Party with descriptions and links below!

IMG_4070

The wreath is Styrofoam wrapped with white tulle and I cut out some snowflakes on my Cricut with the Winter Lace cartridge. The printable Olaf is found here.

IMG_4072

I used the idea from Oh Happy Day to make these fun party hats.

IMG_4073

Frozen party supplies where hard to find back in March/April, but I managed to find a few things! I am sure supplies are more available by now.

IMG_4069

Blue LED Lights and some crochet and embroidered snowflakes and white tinsel as a table decoration.

IMG_4089

making beaded bracelets with pearl beads and clear tribeads

IMG_4088

Snowcap Punch recipe hereIMG_4087 And snowball sign holders found here.

IMG_4083

AKA Powdered sugar donut holesIMG_4079IMG_4081IMG_4082IMG_4085IMG_4086

IMG_4077

The Disney Frozen figurines are from the Disney Store… Sven fell into the cake and I loved how it looked with cake on his nose, so I just left it… He is a little mischievous sometimes, so it worked. I just bought the plainest white cake I could find and decorated it myself. The idea found here. I made the blue ice with a simple hard candy recipe like this. and the snowflake sprinkles are from Wilton.

IMG_4090

We played a Frozen scavenger hunt based on the lyrics of Let It Go… brilliant game and thanks so much to the Bombshell Bling for this free printable

IMG_4091

finding clues and at the end of the hunt, I had a bowl full of snowflake barrettes for each girl to pick one.

IMG_4099

We played a very fun game called Don’t Eat Olaf! It was a crowd favorite for sure (despite a couple tears when things got too loud). I saw it on Etsy.IMG_4096IMG_4097

IMG_4094

Another game we played was to divide into 2 teams and each team decorate one person into a snowman using toilet paper and hats, scarves and carrot nose. The birthday girl got to pick the winning team with the snowman she liked best.IMG_4093

IMG_4075

in addition to the bracelet and hair piece from the party, the kids also got a book and stickers for party favors

IMG_4071IMG_4105 IMG_4103 IMG_4102

Here is a link to my Pinterest board for more ideas!

Bling baby shower

I wanted to do a couple catch up blogs from past baby showers. This one is one I co-hosted with a friend in 2011.  I wish I had more pictures, but my camera battery died during that one. It was super cute and fun and sparkly.

 
We added jewels to flowers cut out on my cricut (paper lace cartridge) for the labels and to scatter around the table and we bought a few more sparkly jewels and hanging crystals to scatter around too.

Check out the super fun crystals we hung from the tissue poms!  (the instructions for making the poms are on the martha stewart website)

I made some home-made jewel/gem shaped candies for the party favors.  You can find the molds for the candies HERE.  They take a couple tries to get the color just right and the timing of pouring the super hot sugar!


Pretty right?!  I want to do another Bling party!!